
Mom Ambitions
Digital Creator + Income Mentor
"Made Simple"

How to Achieve Financial Success with MRR Ebook
with MRR rights!
Dive into this awesome MRR ebook that's not just a read, but a journey to financial success! It's like having a secret weapon tailored to your favorite niche, unlocking exclusive content that's all about overcoming challenges and bringing ongoing value to your life. Follow these friendly strategies, and get started with MRR today! Then you can re-sell this Ebook for 100% profit as soon as you wish!🚀✨
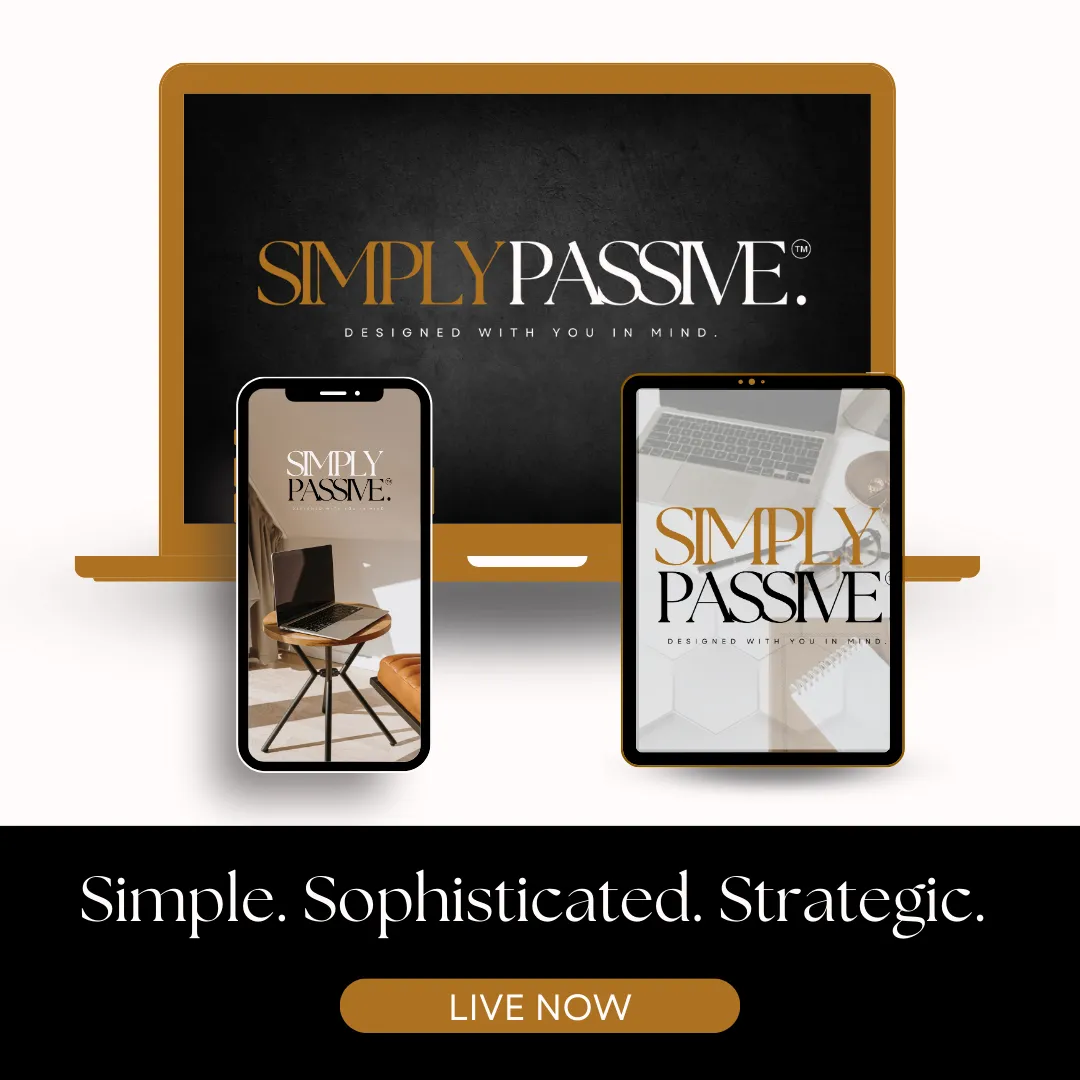
Simply Passive Income Digital Course
Comes with MRR rights!
Simply Passive is a simple on-ramp for beginners to learn how to make passive income from home (or anywhere). It is packed with the strategies & tools you need to bring LIFE to your digital marketing business.
Built on serving. Built on strategies. Built on integrity.
A breath-of-fresh-air course that teaches you how to build a foundation to make sustainable passive income for years to come.
It comes with MRR rights, so you can re-sell it for 100% profit, right away or soon after you implement the strategies showed!
Mom Ambitions © 2024